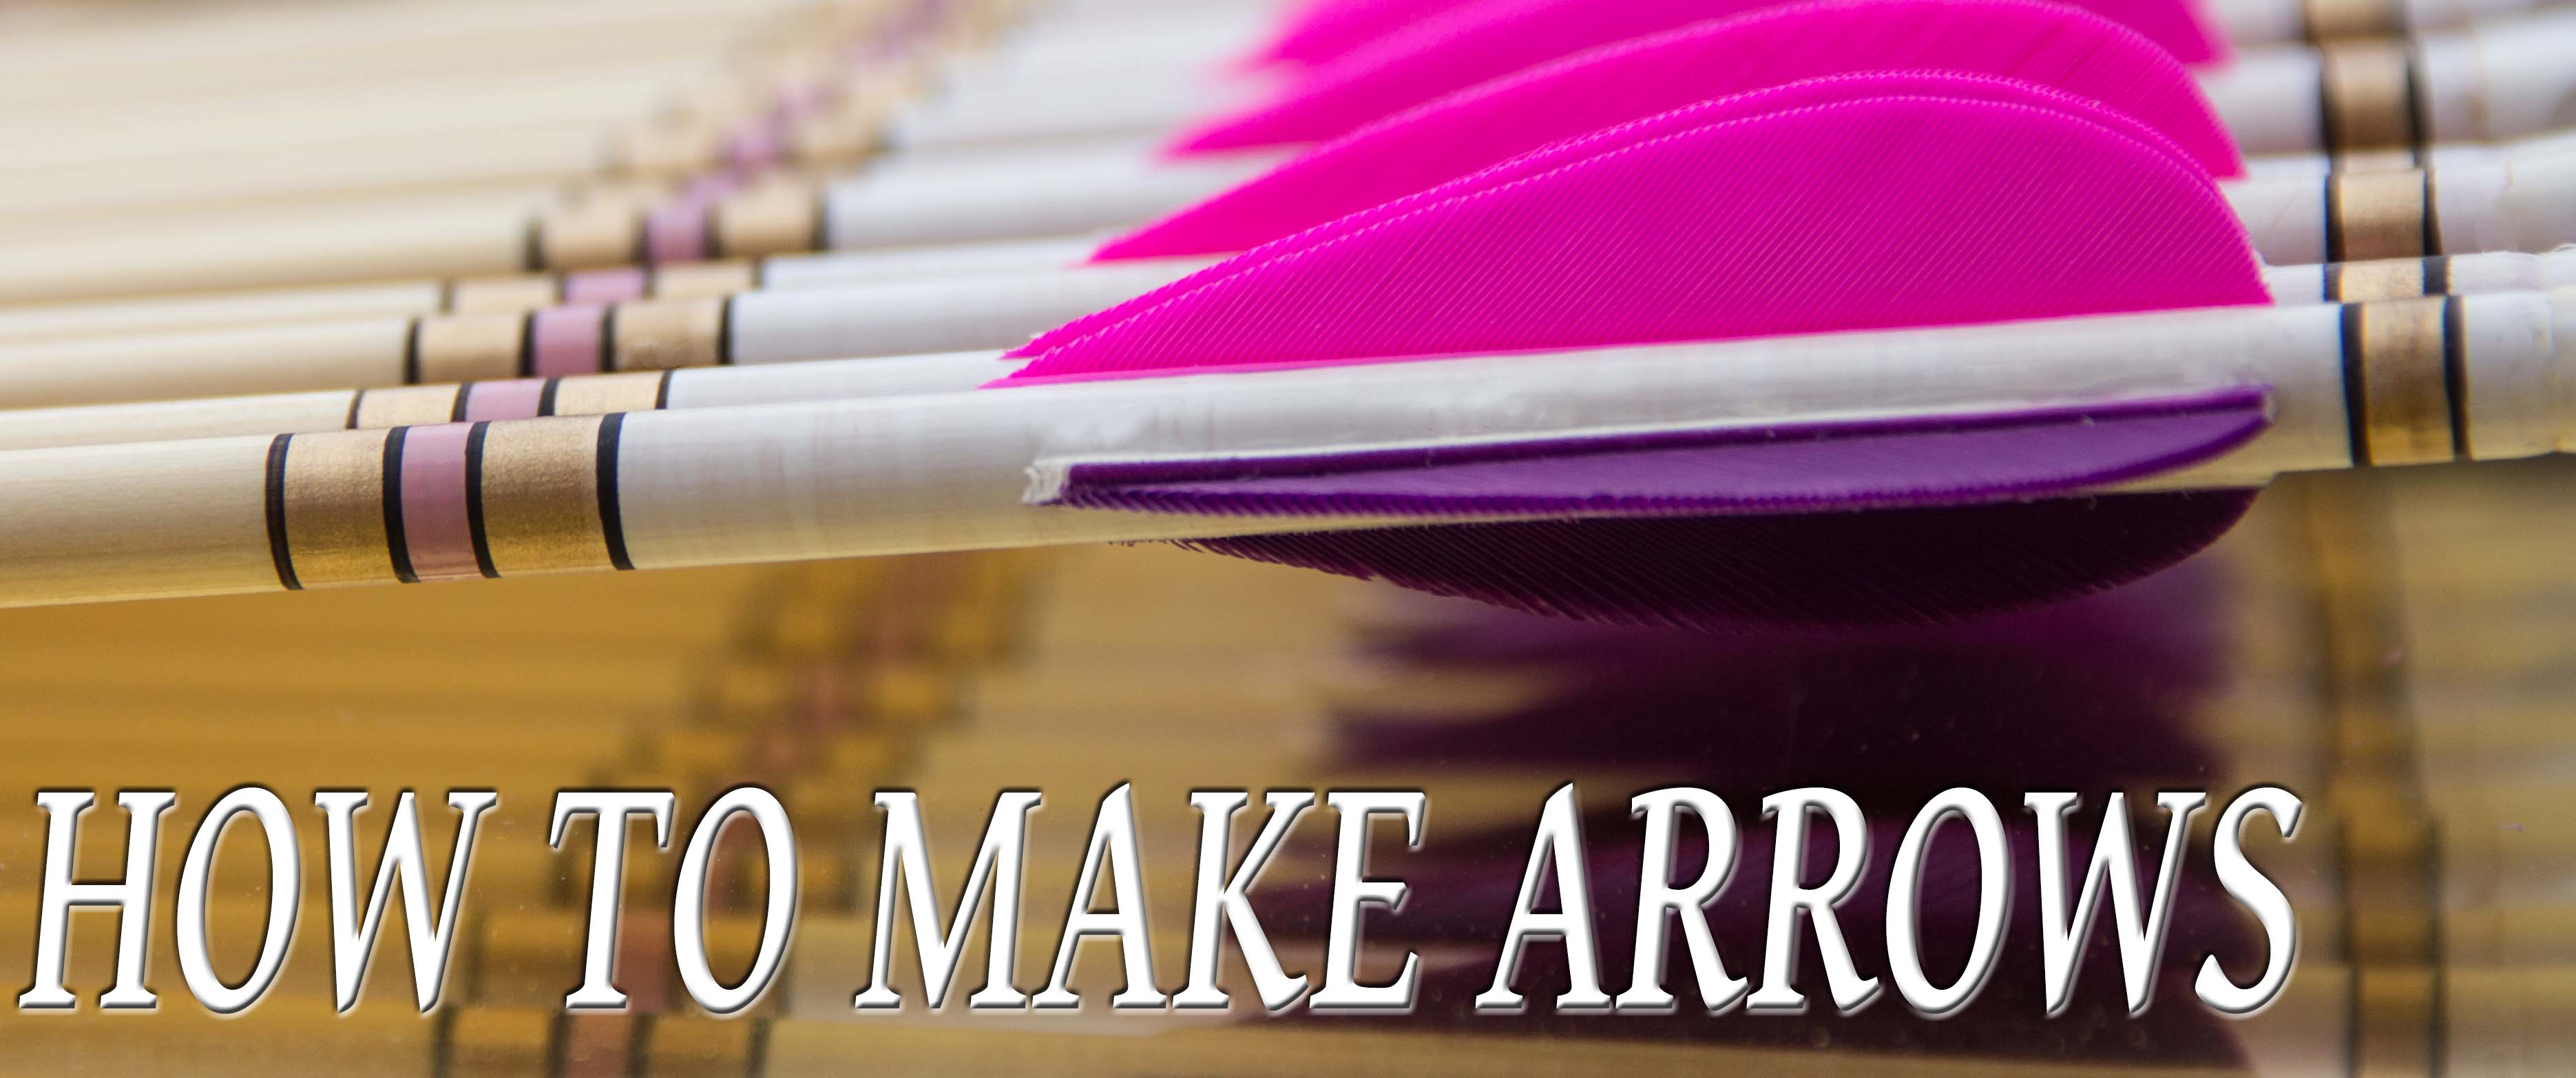
Making arrows is tough, if you have just been reading and watching our `How to make a Longbow` instructions on this website then you probably cant believe it could be any more difficult than that. Its true to say that making Arrows is more of an `assembly job` than the skilled tool based art that is Bow Making. But, Arrows have to match the bow, you cant just get some sticks out of the woods like you did when you were a child playing `Cowboys and Indians`, talking of which, a Seminole Indian is quoted as saying "Any old stick make bow, good arrow damn heap work".
Why is this? well, its not exactly the constructing that is difficult, with Target/Field Arrows one tends to buy the shafts and associated items to make up the Arrows, if you were having to make your own shafts that would be a different matter altogether. Its getting the Arrows to come out of the bow in a correct manner, when you loose (let go of the string) the Arrow has quiet a bit of work to do before it clears the bow, straightens up and hits the intended target, hopefully in the middle! If you have have never seen an Arrow leave a bow in slow motion you may not realise quite how much bending and flexing the shaft goes through, you can see some of this footage in the videos below, we call the `bendyness` of the shaft, Spine, shafts are classed numerically in pounds of spine, the deflection measurement if you like. Again, this is best explained in the videos below, put simply, if you dont select the correct spine/bendyness to match the weight/power of your bow then they will not go where you aim them.We sell a booklet about how to make arrows, it contains all the information you need, you can find it here. www.richardheadlongbows.com
Other parts that make up the Arrow are, Piles, these are the metal points/tips that allow the Arrow to enter into the target and give some weight at the front end of the Arrow, again, get this wrong and it can affect the spine of the shaft and the overall weight of the Arrow. Feathers, these are the parts that allow the Arrow to travel more accurately by steadying up the flight and imparting some spin to the Arrow, in a similar fashion to how Rifling works. Nocks, these are a plastic item that allows the Arrow to be placed on the string securely but loose enough not to impede flight of the Arrow when the string is loosed. Cutting the shafts to the correct length is also important, again, the videos below should help you understand all this a bit better, for some people just choosing what colours to go for can take a while!
Most reputable dealers in Archery equipment should be able to help you choose what shafts will match your bow, us included, getting your first set of Arrows made spot on first time is unlikely, as we mention in our videos, most Archers end up with a few sets of Arrows over time, some sets will vary depending on the discipline/competition you are shooting in, you will also make or indeed lose many Arrows and will no doubt, like most people, continue to tinker and refine your choice of materials and components. So dont be put off, for many its a very relaxing and rewarding thing to do, to be able to make and shoot your own set of Arrows is a wonderful thing, be patient and follow the instructions in our videos carefully, damn heap good luck.
To start making arrows you are going to need to know a few things about choosing and selecting the various components...
As you can see there is quite a bit to choosing the correct shafts etc, if you fancy making your own, have a look at this video...
In the next video we show you how to make your own `shooting board` (seen in the video above)
...you could even have a go at making your own medieval arrow heads!!!...
One of the most common tools you will be using, its also something most archers carry around in their kit bag, is a Taper Tool. At least one of the fittings you will be gluing onto the shafts for your arrows will have a taper socket, basically a cone shape, be it the plastic nocks that clip onto the string or the Piles (points) that will eventually stick into whatever you are shooting at. Here are a couple of videos showing you the types of Taper Tool available.
This next video takes you through some of the steps you may need to do if the tools you choose doesn't match up with the parts you have purchased.
One of the other tools you will need is a fletching jig, this item holds the arrow shaft with a locator at one end, the nock on your arrow shaft fits onto that locator and allows you to hold the arrow steady in the correct positions for the fletchings to be glued in place. Take a look at this video which shows you a modern jig and a more authentic jig for larger Medieval style arrows.
...and if you are making Medieval style arrows then you will need to learn the art of binding on your feathers, glues weren't waterproof back in the Medieval period so string was needed to help keep the feathers in place. Here is a video showing you the process, it can take quite a few goes to get the hang of it and even longer to get it neat!!!
Feathers come in a wide variety of shapes and sizes/colours, so here we try to help you choose what you may need for the arrows you are about to make.
Weight can play a big part making arrows match, check out this video to help explain this...
Most people want to decorate their arrows, it can help differentiate them from other peoples arrows and makes them look nice! Here is a look at one method of decorating arrows...

